• Discover essential steps for metal roof painting on commercial properties, ensuring your project is done right.
• Learn to recognize common signs of wear and the best times for painting to maintain your roof’s longevity.
• Avoid typical DIY mistakes with our expert guide on choosing the right materials and applying them effectively.
Identifying Telltale Signs That Your Roof Needs Attention
The integrity of a commercial roof is paramount, and the paint is more than just an aesthetic feature—it’s a protective seal. Before you start the endeavor of painting, it’s crucial to spot early indications of wear on your metal roof. Peeling paint does not just mar the appearance; it signals potential exposure to moisture and corrosion. Similarly, the presence of rust suggests that the protective layer has been compromised, setting the stage for potential leaks and structural concerns.
Timing Is Everything in Roof Painting
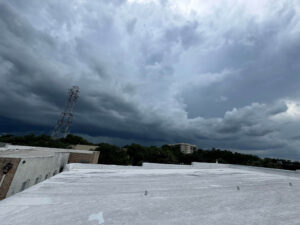
When considering painting your commercial metal roof, choosing the appropriate time is as significant as the painting process itself. In the mild climate of Holiday, FL, aim for a time when the weather is neither sweltering hot nor prone to unexpected showers—usually a challenge in the fall. The right conditions can ensure that the paint sets evenly, providing uniform protection and curb appeal. This preemptive step is essential for a long-lasting finish that will shield your commercial investment from the elements.
Cleaning: The Foundation of A Successful Paint Job
The secret to a resounding paint job lies in the preparation, starting with an immaculate roof surface. Power washing or employing specific cleaning agents for metal removes dirt and debris, laying down the groundwork for prime adhesion. Doing so not only guarantees the longevity of your paint job but also allows you to inspect for any subtle damages that might otherwise go unnoticed. A clean, blemish-free surface is a canvas ready for the transformative power of a new coat of paint.
Repair Work: Ensuring a Smooth Foundation
Before the vibrant new coat adorns your commercial rooftop, it’s imperative to address any form of damage, no matter how minor it might appear. Patching up holes, fixing leaks, and sanding down rusted spots are essential steps in the pre-paint repair process. These efforts not only secure the roofing material but also lay a strong foundation for the primer and paint to adhere to. Ascertaining that all repairs are done diligently helps prevent future issues that could undermine the new paint job and your roof’s overall integrity.
Selecting the Appropriate Paint and Primer
The choice of paint and primer can make a significant difference in the longevity and effectiveness of your metal roof’s new finish. Settling for anything less than high-quality, industry-standard materials could lead to frequent touch-ups and increased maintenance costs. To ensure that you’re utilizing the best products for long-term protection and performance, consider partnering with a professional who can provide expert advice and service. CES Commercial Roofing offers an extensive range of commercial restoration services tailored to meet the unique needs of your property.
Step 1: Evaluate Your Commercial Metal Roof Condition
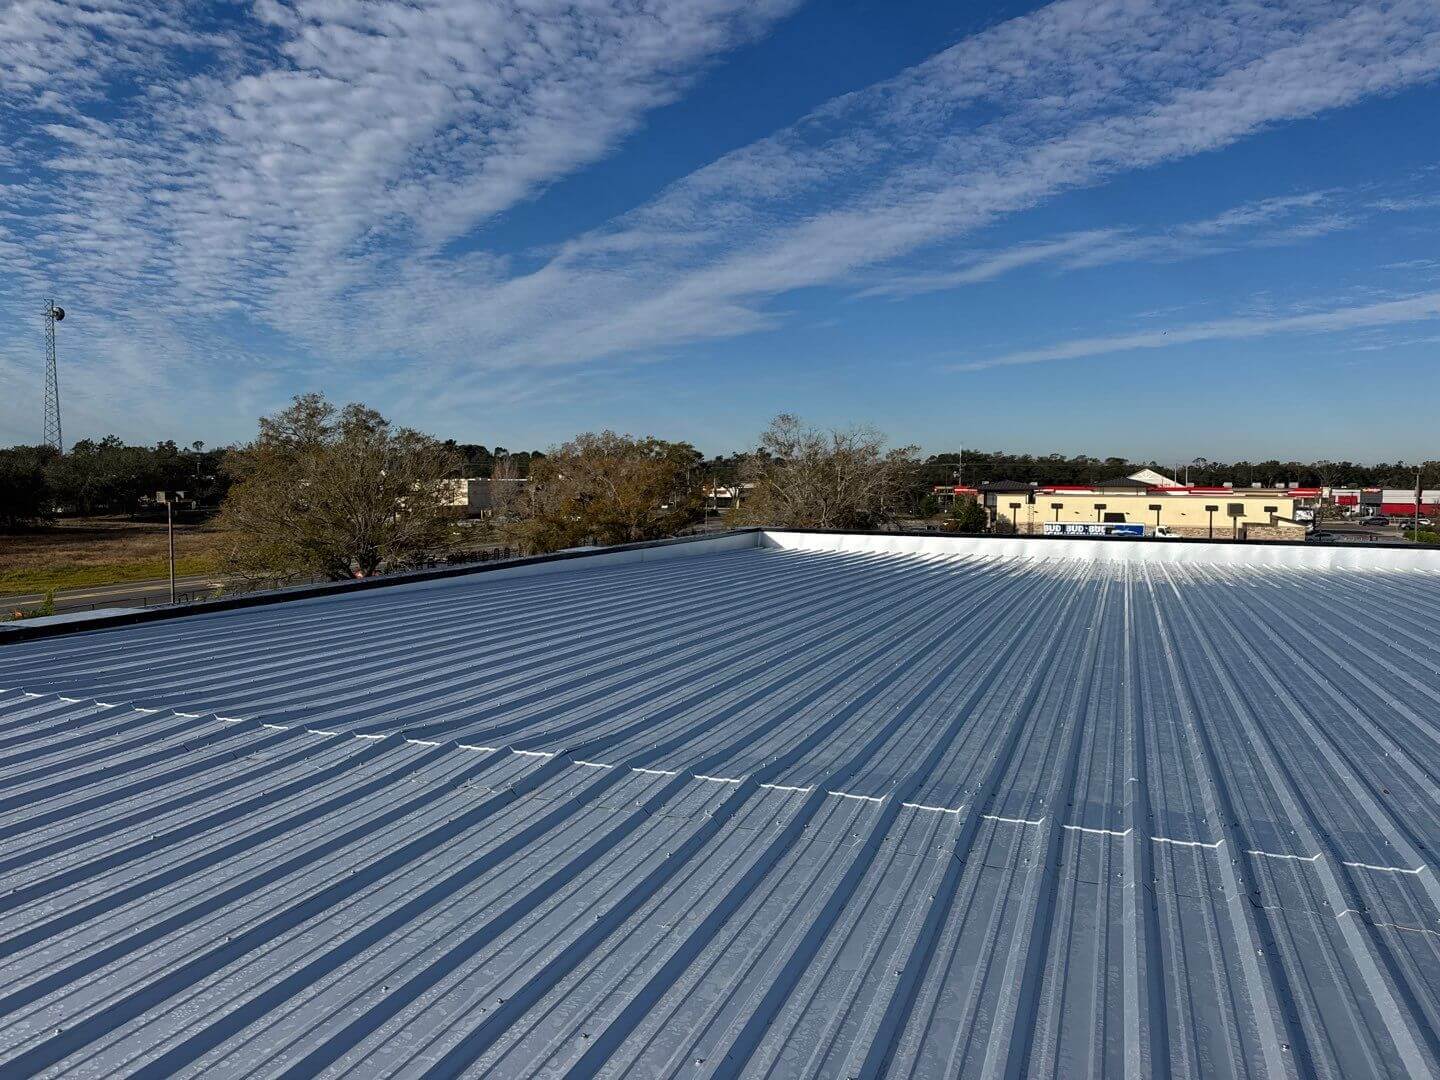
Examine the current state of your metal roof to identify any signs of rust, corrosion, or damage. Look for areas with peeling paint, water stains, or dents that could affect the outcome of the painting process.
Step 2: Choose the Right Time for Painting
Plan the painting project during dry, mild weather conditions to ensure that the paint adheres properly and dries evenly. Avoid rainy or very hot days common in Holiday, FL in the fall.
Step 3: Clean the Roof Surface Thoroughly
Remove all debris, dirt, and residues from the roof. Use a power washer or a specialized cleaning solution for metal roofs to ensure a clean surface for the paint to adhere to.
Step 4: Repair Any Roof Damage
Address issues such as leaks, holes, or rust spots before painting. Patch up or replace damaged metal panels and apply a rust-inhibitive primer to the affected areas.
Step 5: Select High-Quality Metal Roof Paint
Choose a paint product designed for metal roofs that can withstand the elements and provide long-lasting protection. Opt for reflective paint if energy efficiency is also a goal.
Step 6: Apply a Metal Primer
Before painting, apply a corrosion-resistant primer to help the paint adhere better and provide an extra layer of protection against the elements.
Step 7: Paint the Metal Roof Efficiently
Use a sprayer or rollers designed for textured surfaces to apply the paint. Start from the top and work your way down, ensuring even coverage and overlapping each stroke to prevent misses.
Step 8: Inspect and Touch Up
After the paint has dried, inspect the roof for any uneven areas or missed spots. Apply touch-up paint as necessary and ensure all areas are properly coated for maximum durability and aesthetics.
Steering Clear of Common Metal Roof Painting Pitfalls
Tackling a metal roof painting project can seem straightforward, but it’s easy to fall prey to simple missteps that can have long-term consequences. It’s important to approach this task with thorough preparation and knowledge of potential pitfalls. Below, we’ve compiled a list of common mistakes to avoid, ensuring your roof receives the best care and maintenance.
Mistake 1: Neglecting Roof Assessment
Failing to properly evaluate the condition of the roof can lead to painting over issues that will worsen over time. Inspect for rust, corrosion, or damage thoroughly and address these before proceeding with the paint job.
Mistake 2: Ignoring Weather Conditions
Choosing the wrong time to paint can result in poor adhesion and uneven drying. Check the forecast and select a day that promises dry, mild weather, particularly crucial in a climate like Holiday, FL’s.
Mistake 3: Inadequate Cleaning
Skimping on roof cleaning compromises the paint’s ability to stick to the surface. Remove all residues with a power washer or specialized cleaners for a surface that’s ready for painting.
Mistake 4: Rushing the Repair Process
Quick fixes or overlooking minor damages can lead to bigger problems post-painting. Take time to patch holes, fix leaks, and apply rust-inhibitive primer to ensure a solid base.
Mistake 5: Compromising on Paint Quality
Utilizing subpar paint products can lead to fading, chipping, and the need for frequent touch-ups. Invest in high-quality, durable paint for metal roofs to ensure long-lasting protection and aesthetics.
Mistake 6: Applying Primer Incorrectly
A poorly applied metal primer can cause adhesion issues. Apply it evenly and allow proper drying time for a strong foundation that will support the paint layers.
Mistake 7: Uneven Painting
An uneven application can result in a patchy look and inadequate protection. Use suitable tools and techniques for metal roofs to achieve an even and thorough coverage.
Mistake 8: Overlooking the Final Inspection
Failing to inspect the finished paint job could leave you with missed spots or uneven areas. After drying, examine the roof carefully and touch up as needed to maintain durability and appeal.
Applying the Primer: The First Line of Defense
A robust metal primer acts as your roof’s initial line of defense, enhancing paint adhesion and extending the life of the paint job. It’s a guard against rust and corrosion, especially crucial in the fluctuating weather of Holiday, FL. When this base layer is skillfully applied, it promotes the durability and resilience of the roofing system, providing a seamless foundation for the topcoat of paint to come.
The Painting Process: Precision and Care
Applying the paint requires a steady hand and an eye for detail. Techniques such as overlapping strokes help to prevent any unpainted gaps and ensure full coverage. To achieve the most efficient and consistent finish, consider reaching out to CES Commercial Roofing, whose expertise in maintenance and repairs extends to their meticulous painting services, ensuring your roof looks and performs at its best.