• Understanding Sanford Tile Roof Protection: Learn how proper underlayment installation and maintenance can safeguard your roof against harsh weather and prolong its lifespan.
• DIY Tips and Professional Insight: Gain practical advice for routine tile roof care and discover why professional expertise is crucial for complex maintenance and repairs.
• Connect with Expert Roofers: Access links to our social media page and Google profile for the latest roofing updates, and find out how to contact us for personalized inspection and repair services.
Recognizing When Your Roof Needs Attention
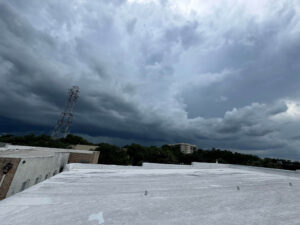
In the bustling hub of Winter Haven, FL, the health of your commercial property’s roof can mean the difference between a secure investment and costly damages. Start by looking for visible signs of tile damage, such as cracks or breaks that can leave your building vulnerable to the elements. It’s equally important to be vigilant for less obvious signs, like water stains or mold growth on interior ceilings, which suggest potential breaches in the roof’s barrier. Even if your roof appears intact, considering the age and history of your roofing structure is crucial, as older roofs may have weakened protections against Sanford’s volatile weather patterns.
Choosing the Best Defense Against the Elements
With the variety of underlayment materials available, it’s vital to select one that’s tailored to the demands of commercial structures and the specific climatic conditions of Sanford. Self-adhering membranes offer superior bonding and ease of installment, while asphalt-saturated felt provides a time-tested, cost-effective solution. Synthetic options bring advanced technology to the forefront, boasting exceptional durability and resistance to moisture. Keep in mind that the right underlayment acts as a silent guardian, shielding the intricacies of your business from the unseen dangers overhead.
Preparation: The Foundation of Effective Protection
Prior to ushering in a new era of roof security, the existing surface demands proper preparation. Free the rooftop landscape of debris and dirt to guarantee an unblemished canvas for your new underlayment. Addressing repairs for existing tile faults is non-negotiable, as even the slightest negligence here can undermine the integrity of your entire roofing system. With each tile meticulously inspected and corrected, you pave the way for an underlayment that will steadfastly serve and protect your commercial establishment.
Implementing Your Roof Protection Strategy
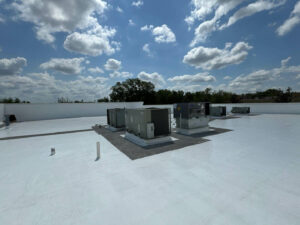
The installation of your commercial underlayment is a pivotal moment that sets the stage for the lasting resilience of your establishment’s roof. Beginning at the lowermost edge, roll out your chosen underlayment, ensuring it lies flat and extends beyond the roof edge for optimal protection. As you progress upwards, maintain a vigilant eye for precise overlaps as recommended by the underlayment manufacturer, since this step is critical for the creation of a waterproof seal. Secure each layer with appropriate fasteners, like cap nails, committing to a meticulous approach that leaves no space for water to seep through and compromise the integrity of your property.
Sealing the Fort
With the underlayment firmly installed, turn your focus to reinforcing any points on the roof where penetrations could invite water entry. Chimneys, vents, and other fixtures punctuate the roof, necessitating the use of high-quality sealants to form an impenetrable barrier around these vulnerable spots. This step is quintessential not only to protect against Sanford’s routine storms but also to prevent the slow, insidious damage of water infiltration. Should you need further assistance or run into complications, CES Commercial Roofing is always prepared to help with their expertise in maintenance and repairs.
Step 1: Assess Your Roof’s Condition
Before considering underlayment for your tile roof, conduct a thorough assessment of the current state of your existing roof. Look for cracked, broken or missing tiles, signs of water penetration, and the age of the roof.
Step 2: Choose the Right Underlayment Material
Select an underlayment that is designed for commercial use and compatible with tile roofing. Options may include self-adhering membranes, asphalt-saturated felt, or synthetic products designed for heavy-duty protection against the Sanford climate.
Step 3: Prepare the Roof Surface
Ensure that the roof surface is clean, dry, and free of debris. Any damaged tiles should be repaired or replaced to provide a solid foundation for the underlayment.
Step 4: Install the Underlayment
Starting at the bottom edge of the roof, roll out the underlayment horizontally. Overlap edges as specified by the manufacturer for waterproofing. Secure the underlayment with cap nails or other appropriate fasteners.
Step 5: Seal Seams and Penetrations
Use appropriate sealants to join seams in the underlayment and to seal around any roof penetrations, such as vents or chimneys, to ensure no water ingress occurs at these vulnerable points.
Step 6: Lay the Tile
After the underlayment is installed and sealed, begin placing the tile over the underlayment carefully, starting from the bottom and overlapping as you move upwards to prevent water penetration.
Step 7: Inspect and Test Protection
Inspect the entire roof for any missed areas or potential vulnerabilities. If possible, perform a water test to check the effectiveness of the underlay protection against potential leaks.
Step 8: Ongoing Maintenance
Set up a schedule for regular roof inspections and maintenance to prolong the life of your commercial underlayment and tile roof protection. This includes cleaning gutters, removing debris, and checking for damages, especially after extreme weather events in Sanford.
Averting Common Underlayment Pitfalls
When enhancing your commercial roof with new underlayment, it’s easy to fall into certain traps that could jeopardize your property’s protection. Some mistakes might seem minor, but they can lead to serious repercussions, especially with Sanford’s unpredictable weather patterns affecting the longevity of your tile roof. Understanding and avoiding these common missteps can save you time, money, and ensure that your roof remains robust and intact for years to come.
Common Mistakes to Avoid During Underlayment Installation
Mistake 1: Ignoring Signs of Existing Damage
One of the biggest oversights is neglecting pre-existing roof damage before installing new underlayment. Cracked or missing tiles and prior water penetration are often harbingers of deeper issues. Prevent this by meticulously assessing and addressing all damage before adding any new materials.
Mistake 2: Selecting Inappropriate Underlayment Material
Choosing a subpar or incompatible underlayment material can prove to be a costly mistake in the long run. It’s crucial to opt for materials specifically designed for commercial tiles and suitable for Sanford’s climate to prevent premature degradation. Always verify material compatibility and durability before purchase.
Mistake 3: Inadequate Roof Surface Preparation
A failure to properly clean and prepare the roof surface can inhibit the underlayment’s ability to properly adhere, compromising its efficacy. Before installation, the roof must be completely free of debris and moisture. This not only ensures a strong bond but also prevents mold and other issues associated with trapped moisture.
Mistake 4: Incorrect Underlayment Installation Technique
Incorrectly laying the underlayment, such as inadequate overlapping or improper securing, can leave your roof vulnerable to water ingress. Follow the manufacturer’s instructions to the letter, ensuring each section overlaps correctly and is securely fastened to the roof’s structure. This attention to detail will pay dividends in roof performance against Sanford’s tropical storms.
Mistake 5: Poorly Sealed Seams and Penetrations
Another common error is insufficient sealing around seams and roof penetrations. Even the smallest gap can allow water to enter and cause damage. Thoroughly seal these areas with the appropriate sealants to maintain an impenetrable waterproof barrier.
Mistake 6: Laying Tiles Without Strategy
Laying tiles haphazardly without considering water flow can lead to leaks. Tiles should be laid carefully, starting from the bottom, and overlapping as you move up the roof to guide water away effectively. Careless tile placement will undermine the integrity of your underlayment and the roof as a whole.
Mistake 7: Skimping on Inspection and Testing
Skipping the post-installation inspection and testing for leaks could lead to unnoticed faults. Once the underlayment and tiles are in place, a thorough inspection and water test are indispensable for certifying your roof’s readiness against adverse weather.
Mistake 8: Neglecting Regular Maintenance
Finally, overlooking the necessity for ongoing roof maintenance can spell disaster for your underlayment’s lifespan. Regular inspections, cleaning, and repair not only extend your roof’s life but also prevent the magnification of minor issues. Commit to a maintenance schedule to secure your investment against Sanford’s relentless weather.
Ensuring Enduring Protection Post-Installation
After the underlayment and tile placement, it’s imperative to survey the entire roof to spot any potential areas you might have missed. This close inspection is crucial for catching tiny gaps or misalignments that can grow into larger issues, especially when faced with Sanford’s dynamic weather. If you’re ever uncertain about the condition of your roof after installation, consider a professional assessment from CES Commercial Roofing experts in commercial restoration for peace of mind.
Maintenance: The Key to Longevity
Regular maintenance is the seal on your roofing investment, offering prevention against the need for major repairs down the line. A well-maintained roof not only defies the test of time but also sustains its defense against seasonal storms and heat. For tailored maintenance plans and detailed roof inspections, reach out to the specialists at CES Commercial Roofing maintenance and repairs, who understand the intricacies of keeping your roof in prime condition.
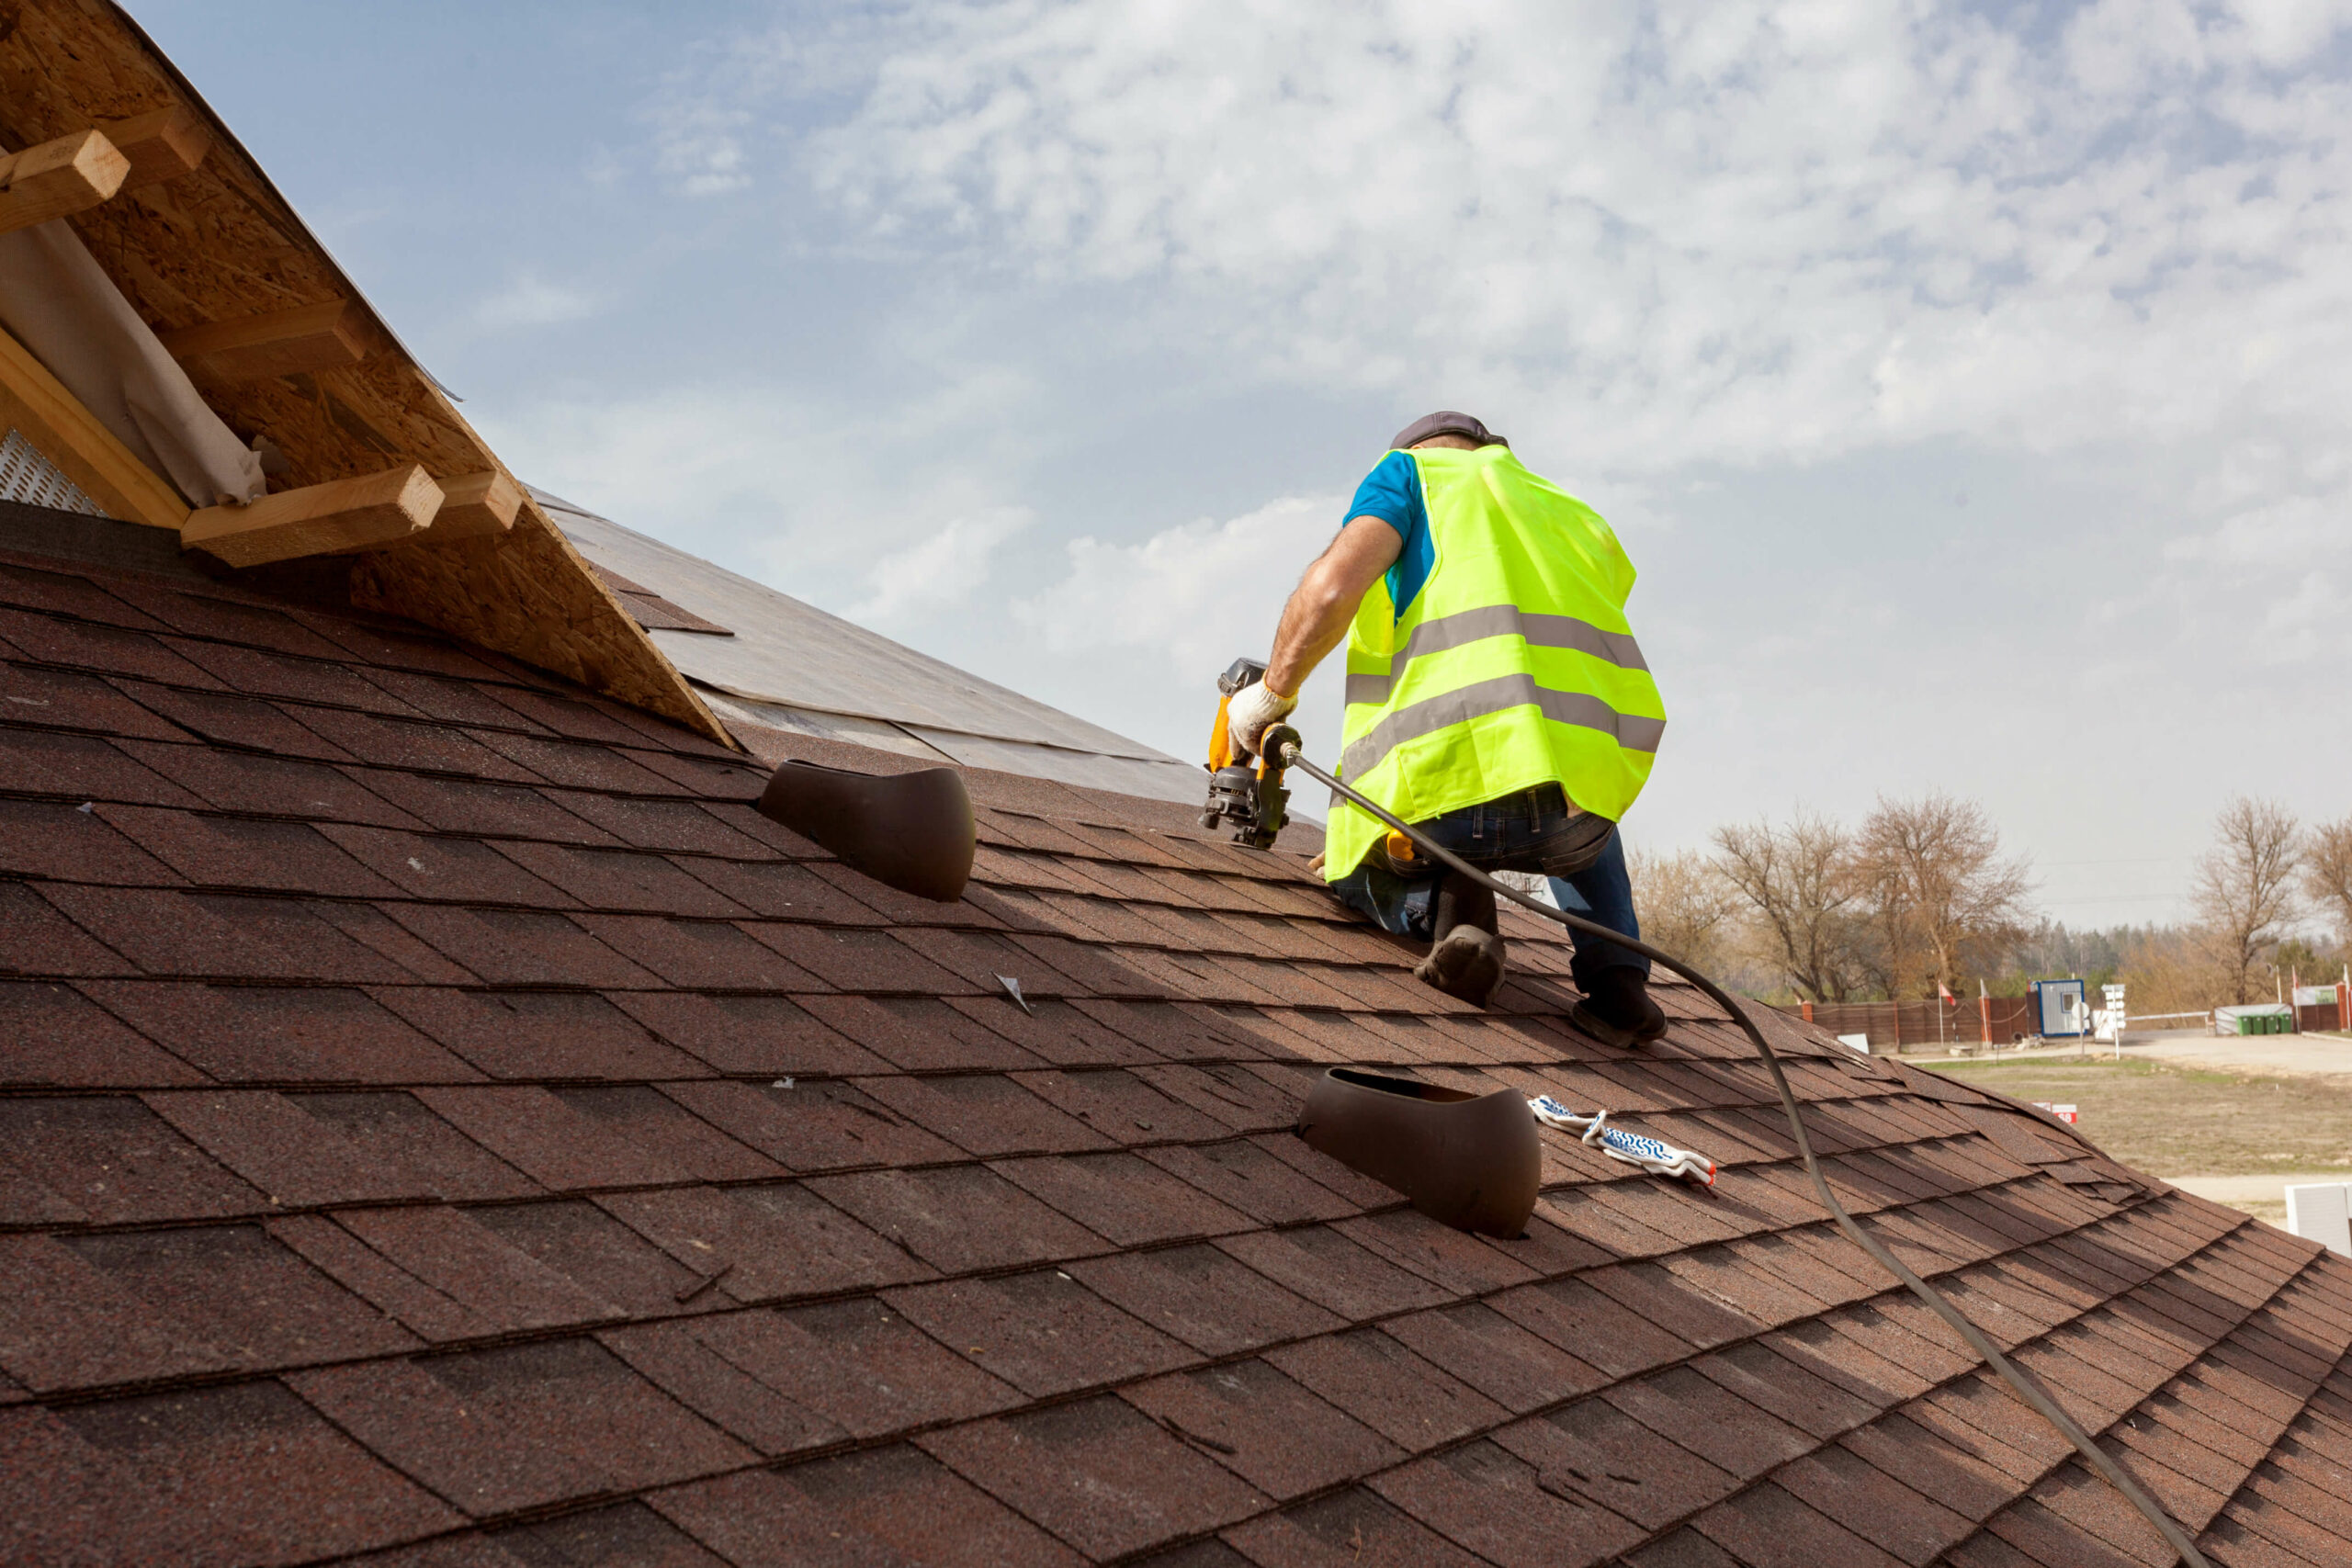
When it comes to safeguarding your home, reaching out to a professional team ensures that your roof receives the care it requires with the highest standards of quality and safety. Whether it’s routine maintenance, dealing with the aftermath of a storm, or complete roof replacement, a roofing specialist has the expertise, experience, and equipment to handle the task efficiently and effectively.
For the ultimate peace of mind and guaranteed quality of work, seeking professional help is always the best option. Doing so not only protects your investment but also secures the safety and comfort of your home for years to come.
Stay connected with us and learn more about our services, the latest roofing trends, and get expert advice directly from our team. Visit us through our social media page and our Google profile for the latest updates and ongoing projects.
Our team is ready to assist with inspections, repairs, and full commercial roof projects. Contact us today to get started!