• Step-by-step guide to commercial roof dry-in ensuring a weather-tight and secure installation
• Highlighting the critical importance of professional expertise in achieving long-lasting roofing solutions
• Prominent mention of our team’s readiness to assist with inspections, repairs, and complete roofing projects
Recognizing Early Signs of Roofing Issues
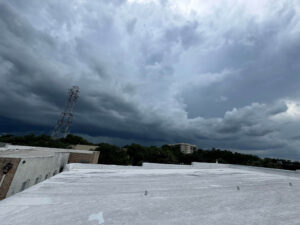
In the bustling commercial districts of Ocoee, FL, the integrity of your building’s roof is paramount, especially as the winter takes its toll. Before embarking on the crucial **commercial roof dry-in** process, it’s vital to note the warning signs that demand immediate attention. Cracks and splits in your roof’s surface, visible signs of pooling water, or the unmistakable evidence of leaks within your premises are clear indicators that your roof’s integrity may be compromised. Being proactive in identifying these signs assures that you can address roofing concerns before they escalate into more severe problems.
Assessing Your Commercial Roofing Needs
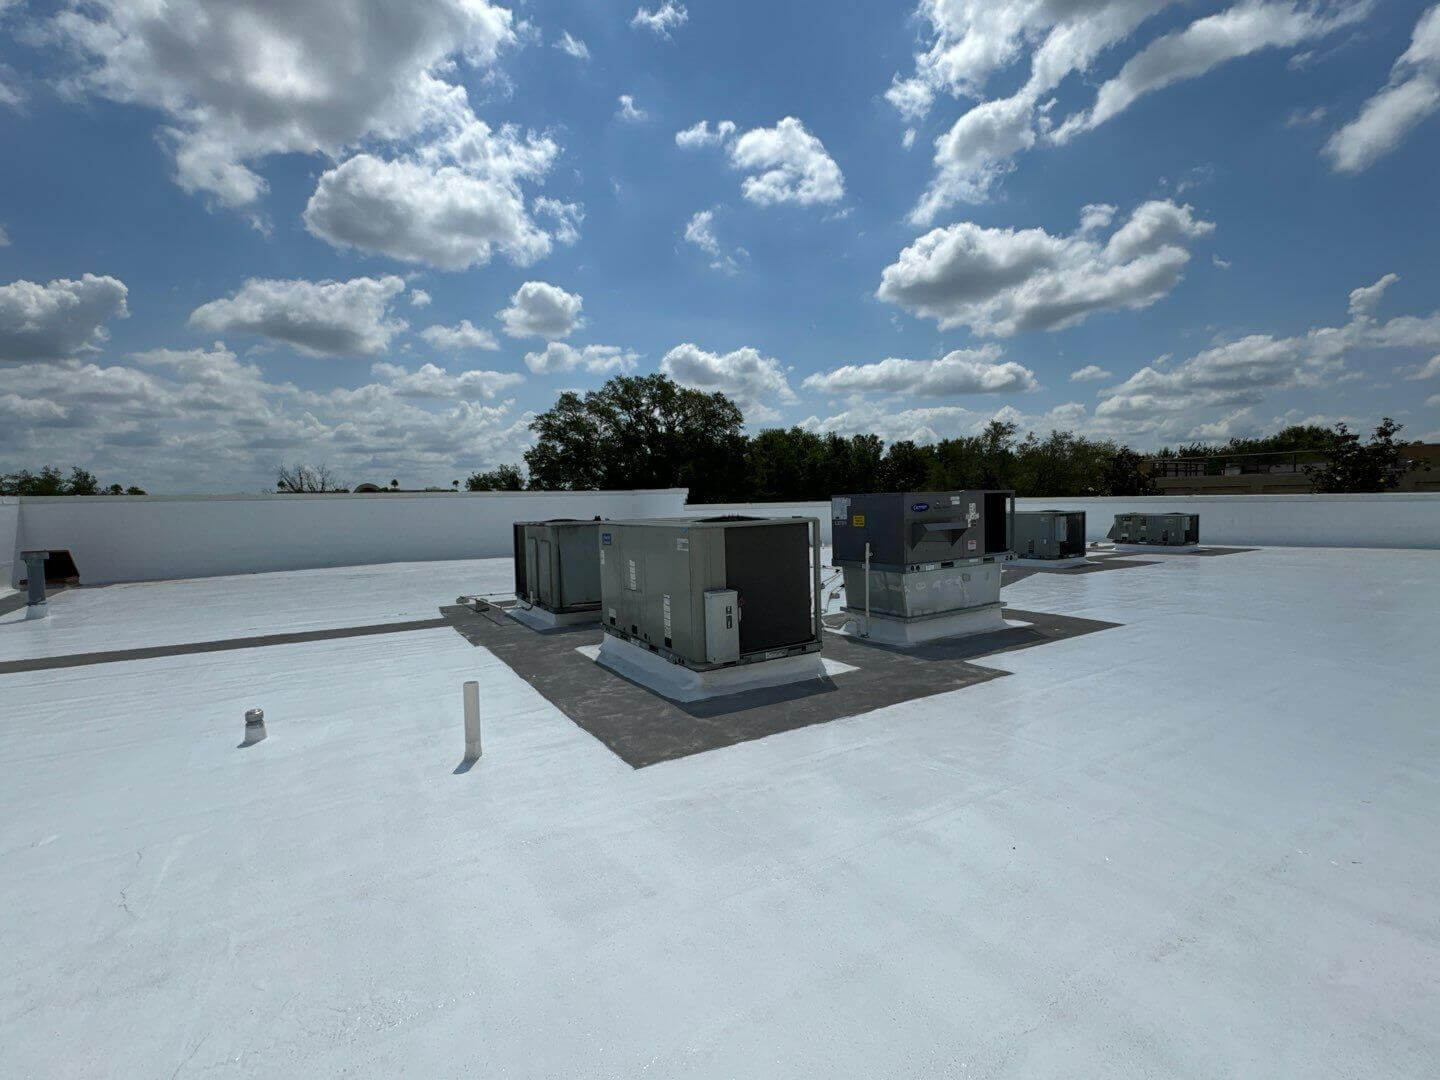
When assessing your commercial roof’s state, a detailed inspection is the crucial first step in understanding the scope of any potential problems. It’s essential to pinpoint specific areas prone to water infiltration or damage, as these will dictate the extent of the **dry-in process** required. Scrutinize not only the obvious sections but also consider the less visible aspects of your roofing system; the flashing, the drains, and the roof’s edges where weaknesses often start unnoticed. This initial evaluation will guide you in selecting the appropriate next steps in fortifying your commercial roof against the elements.
Early Prevention and Maintenance Strategies
The longevity of your commercial roofing system in Ocoee is significantly influenced by timely maintenance and early detection of potential issues. A roof’s repair history can often reveal patterns or recurring issues that must be addressed during the **dry-in process**. Remember, it’s not just about fixing what’s already damaged — it’s also about preventing future problems. A maintenance schedule that includes regular inspections and prompt repairs will ensure that your commercial roof remains in peak condition, year-round.
Understanding the Critical Dry-In Phase
A commercial roof acts as the first line of defense against Florida’s unpredictable weather, particularly during the cooler, sometimes harsher winter months. Understanding the dry-in process is essential—it is a temporary but vital phase that secures the building from water damage before the final roofing layers are applied. This stage lays the groundwork for a comprehensive roofing system that will efficiently protect your business assets. It is not just a preventative measure; it is a critical component of your commercial roof’s lifespan.
Preparing for Dry-In Success
Preparation is the key to a successful dry-in, which involves not only choosing the right materials but also ensuring proper installation. With a variety of underlayments and synthetic sheeting options, picking the ideal fit for your roof’s specific needs is crucial. This choice not only affects the immediate weatherproofing performance but also contributes to the roof’s overall durability and functionality. For expert guidance through this process and access to top-tier materials, consider exploring our commercial roofing installation services.
Meticulous Installation and Future Planning
Once the surface is prepared and materials selected, the key to dry-in success lies in meticulous installation. Ensuring that every square inch is covered and sealed, without any gaps for potential water intrusion, requires precision and expertise. Special attention should be given to sealing seams and penetrations, which are common points of failure in roofing systems. Planning for long-term protection of your commercial property in Ocoee will not only provide peace of mind but will also prove to be a prudent financial decision in the long run.
Step 1: Assess Your Commercial Roofing Needs
Begin by evaluating the current state of your building’s roof. Identify areas that need attention or areas susceptible to water infiltration. Consider the size of the roof, the materials currently used, and any repair history.
Step 2: Understand the Dry-In Process
Familiarize yourself with what “commercial roof dry-in” entails. This is the stage where the roof becomes weatherproof and able to protect the interior from moisture before the final roofing layers are applied.
Step 3: Select Appropriate Materials
Choose suitable materials for the dry-in process based on your roofing type. Common materials include underlayment, felt paper, or synthetic sheeting, which all serve to create a temporary barrier against moisture.
Step 4: Prepare the Roof Surface
Clean the roof surface thoroughly to ensure proper adhesion of the materials. Remove all debris, dust, and existing damage that could interfere with the installation of the water-resistant barriers.
Step 5: Install the Water-Resistant Barrier
Carefully install your chosen water-resistant barrier, using manufacturer’s instructions. Ensure it’s laid flat and secured appropriately to prevent water ingress.
Step 6: Seal Seams and Penetrations
Use roofing tape or a suitable sealant to properly seal all seams, vents, and other penetrations to prevent moisture from entering the building during the dry-in phase.
Step 7: Inspect the Work So Far
Once the barrier is in place, perform a detailed inspection to ensure there are no vulnerabilities. Be thorough in checking that all areas are well-protected.
Step 8: Plan for Permanent Roofing Installation
With the dry-in phase completed, arrange for the final layers of roofing material to be installed. Ensure that you schedule with reputable commercial roofing contractors who specialize in the final roofing systems.
Common DIY Mistakes to Avoid in Commercial Roof Dry-In
When attempting to weatherproof your commercial roof, a few common missteps can lead to bigger issues down the line. Even with the best intentions, property managers or DIY-enthusiast business owners can inadvertently cause more harm than good to their roofing systems. Understanding these pitfalls is key to ensuring a proper dry-in and avoiding unnecessary expenses and delays.
Mistake 1: Inadequate Roof Assessment
Skipping a detailed roof assessment can result in missing underlying issues that need to be addressed before the dry-in process. Neglecting this step often leads to improperly secured barriers, which fail to protect against weather damage.
Mistake 2: Misunderstanding the Dry-In Process
A common error is underestimating the complexities of the dry-in stage and its importance in protecting the interior from moisture. Many fail to recognize that this stage is temporary and not a substitute for permanent roofing solutions.
Mistake 3: Choosing the Wrong Materials
Selecting materials that are incompatible with your roof type or the local climate can significantly diminish the effectiveness of the dry-in process. This mistake often stems from a lack of research or consultation with roofing experts.
Mistake 4: Improper Surface Preparation
Neglecting thorough cleaning and preparation of the roof surface can hinder the proper adhesion of the water-resistant barrier, leaving the roof vulnerable to leaks and water damage.
Mistake 5: Poor Installation of the Barrier
Improper installation of the water-resistant barrier, such as wrinkling or misalignment, can cause gaps and allow moisture to penetrate the roofing system. It’s vital to adhere to the manufacturer’s guidelines for correct installation practices.
Mistake 6: Inadequate Sealing of Seams and Penetrations
Failing to seal all seams, vents, and penetrations accurately is a typical misstep that can lead to water ingress. Using the wrong type of sealant or tape, or applying it incorrectly, can be the difference between a dry or a leaking roof.
Mistake 7: Not Performing a Thorough Inspection
Overlooking the need for a detailed post-installation inspection can let minor errors turn into major leaks. Without verifying the integrity of the barrier, you risk the development of unnoticed vulnerabilities.
Mistake 8: Delaying Permanent Roofing Installation
Delaying the installation of the final roofing layers after the dry-in phase can expose your building to the elements for longer than necessary. This risk increases when dealing with Florida’s unpredictable weather.
Sealing for Safety and Sustainability
Proper sealing is critical in the commercial roof dry-in process to safeguard against Ocoee’s seasonal weather extremes. Every seam, vent, and penetration is a potential entry point for moisture that can compromise the integrity of the roofing system. A sound sealant strategy not only protects the roof’s structure but also maintains the interior environment, preventing costly damages and energy inefficiency.
Expert Inspection is Key
An expert installation is indispensable, but it’s the thorough inspection that follows which ensures true peace of mind. After the water-resistant barrier is in place, meticulous review can highlight any oversights and ensure all components function cohesively. This step is vital for commercial properties, where every operational day counts, and it is available through services like leak detection and maintenance and repairs.
If you’re feeling unsure or simply want the peace of mind that comes with expert installation, reach out to the specialists. Visit us through our social media page and our Google profile for the latest updates and ongoing projects.
Our team is ready to assist with inspections, repairs, and full commercial roof projects. Contact us today to get started!