• Essential Guide to Underlayment: Learn how to effectively protect your commercial tile roof with the correct underlayment techniques in Sanford.
• Expert Tips on Materials and Installation: Discover the best materials for underlayment and step-by-step instructions for proper installation.
• Professional Help for Optimal Roof Protection: Understand the importance of hiring professionals for inspections, repairs, and ensuring the longevity of your commercial roofing investment.
Recognizing the Need for Enhanced Protection
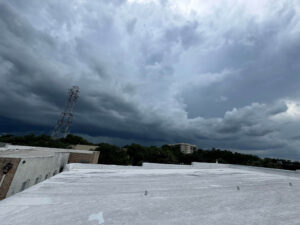
When the skies of Winter Haven open up to the seasonal downpours, the last thing you want to see are signs of leakage in your commercial premises. Noticing water stains on your ceilings, especially after a storm, could indicate that your current roof underlayment is failing. Besides stains, a consistent dampness or moldy smell within your building suggests hidden moisture problems that could be wreaking havoc above. These are telltale signs that it’s time to assess your roof and consider the necessity of a new underlayment installation.
Selecting Materials That Withstand the Elements
The Sanford region’s climate calls for materials that can endure not just the weight of heavy rainfall but also the battering force of occasional storms. As you evaluate your options, factor in the longevity and waterproofing capabilities of each underlayment material. A high-quality, synthetic underlayment could be an investment that protects against even the harshest weather conditions. Choosing the right underlayment means safeguarding your property against potential costly damages caused by Florida’s erratic weather.
Calculating the Extent of Your Investment
Embarking on the protective journey of underlayment installation starts with understanding the scope of the project. You’ll need to measure your commercial space accurately to determine how much material is necessary—a crucial step to avoid costly overages or shortages. Setting a pragmatic budget for both materials and labor will help manage expenses and set expectations for the project outcome. It’s important to consider the long-term benefits of your investment in commercial underlayment tile roof protection in Sanford.
Planning Your Installation Schedule
Timing is critical when it comes to roof work, and in Sanford, the fall season presents the ideal window for such tasks. Not too hot, not too wet, September’s mild weather conditions allow for a smoother and more efficient underlayment installation process. By coordinating with your roofing specialists, you can set a date that avoids typical seasonal rainfalls that could delay the project. Precision in timing ensures that your roof is ready before the winter weather sets in, offering protection when it’s most needed.
Preparing Your Roof for Underlayment
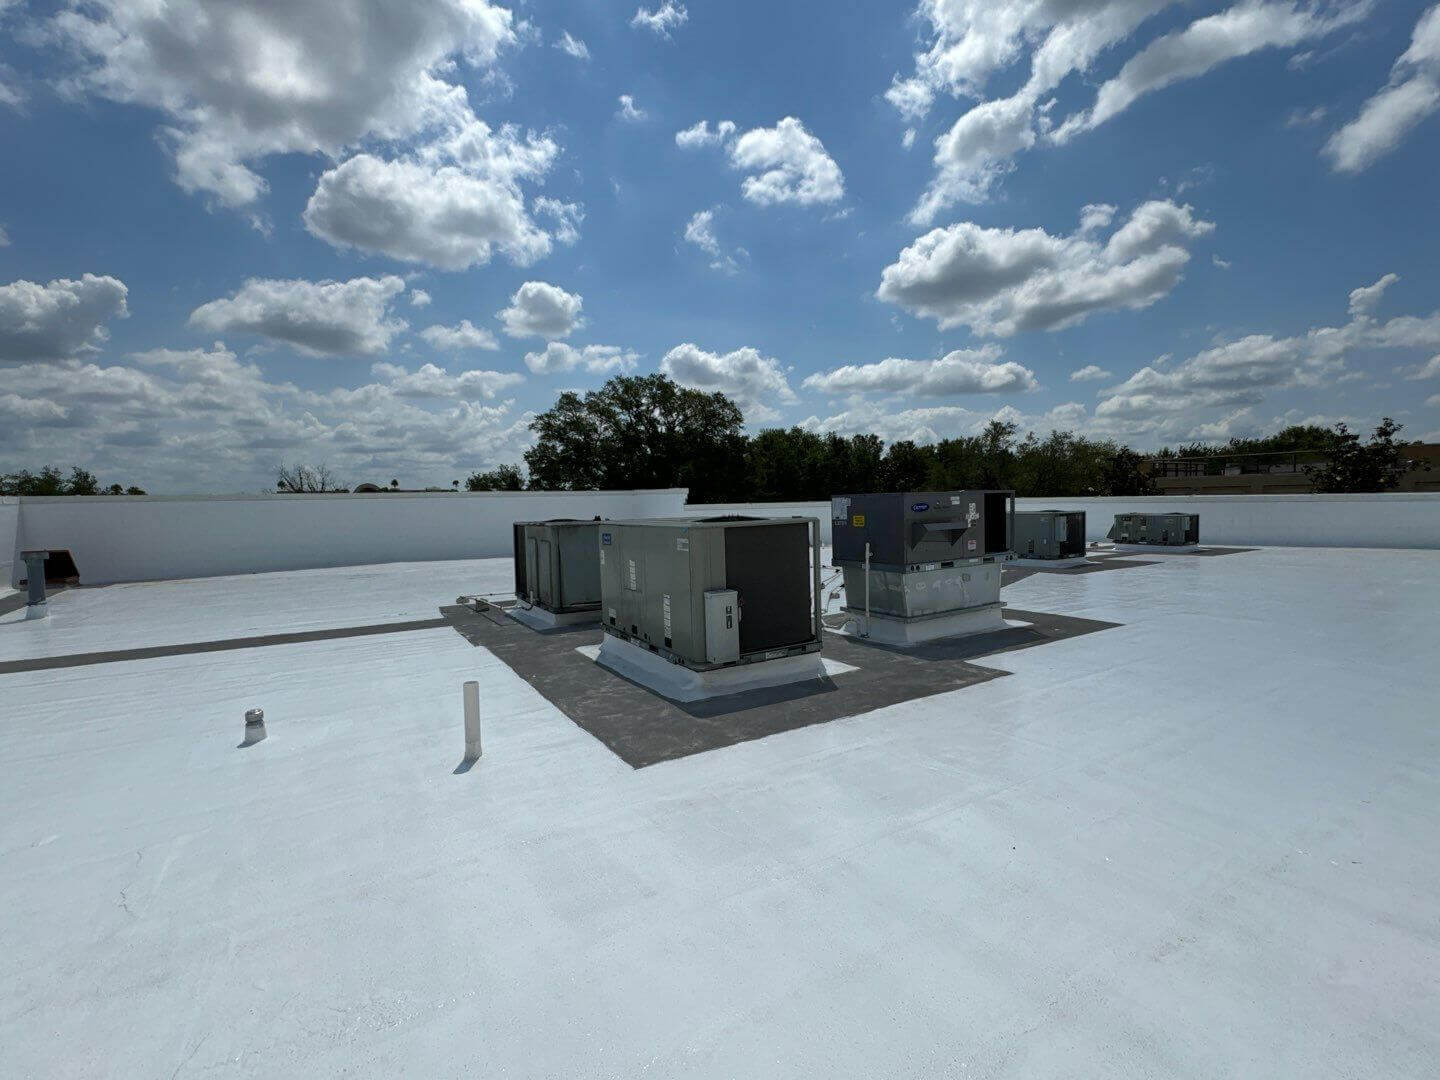
The first physical step of installation is preparing the roof surface, which sets the foundation for effective underlayment protection. This means clearing away debris, removing old materials, and ensuring the roof deck is dry and sound. Such due diligence prevents trapping moisture beneath the new layer, which could lead to mold growth and wood rot. If you’re unsure about how to properly assess your roof’s readiness, consider reaching out for expert leak detection services to help pinpoint any issues that could compromise the underlayment’s performance.
Step 1: Assess Your Commercial Roof’s Needs
Before you consider the installation of underlayment for your tile roof in Sanford, evaluate your building’s current roofing condition. Examine the roof for any signs of damage, wear, or leaks that might indicate the need for underlayment protection.
Step 2: Choose the Right Underlayment Material
Different underlayment materials offer varying levels of protection and durability. Research and select a material suitable for Sanford’s climate and your specific roof type, ensuring it will provide ample protection for the rainy fall season.
Step 3: Calculate Materials and Budget
Measure the total roof area to calculate how much underlayment material you will need. Outline a budget for the underlayment and any additional materials required for the installation process.
Step 4: Schedule the Installation
Plan the underlayment installation at a time when the weather in Sanford is dry and mild. Fall often provides such conditions, ensuring the installation process isn’t hampered by adverse weather.
Step 5: Prepare the Roof
Carefully clear the roof surface of any debris or existing damaged underlayment. Ensure that the roof is clean and dry to provide a solid base for the new underlayment.
Step 6: Install the Underlayment
Follow the manufacturer’s instructions to install the underlayment accurately. Start from the bottom edge of the roof and work in horizontal sections, securing the material as you go.
Step 7: Inspect and Seal
Once the underlayment is laid out, inspect the entire surface for any gaps or areas that might allow water penetration. Seal all seams and overlaps thoroughly to ensure maximum protection.
Step 8: Maintain Regularly
After installation, set a schedule for regular inspections, particularly after heavy rainfall or storms. This ensures your commercial underlayment tile roof protection remains intact and continues to protect your Sanford property effectively.
Avoid These Common Underlayment Installation Mistakes
In the quest to safeguard your commercial roof, vigilance against common missteps is just as important as following the right steps. DIY enthusiasts often encounter pitfalls that can compromise the roof’s integrity and undermine the protection underlayment should offer. Understanding these errors, why they occur, and how to sidestep them is crucial for maintaining a sound roofing system over your Winter Haven enterprise.
Mistake 1: Neglecting Thorough Roof Inspection
Many owners leap into underlayment installation without fully evaluating their roof’s condition, missing subtle signs of wear or damage that could affect the new layer. To prevent this oversight, take the time for a detailed assessment or engage a professional to ensure no issues are overlooked.
Mistake 2: Choosing Low-Quality Material for Cost-Savings
While opting for cheaper materials can be tempting, they may not stand up to the challenging climate of Sanford, leading to premature failures. Invest in high-quality materials that guarantee durability and are proven to perform well in local weather conditions.
Mistake 3: Inaccurate Material Measurement and Budgeting
A common pitfall is underestimating the amount of underlayment needed, resulting in unexpected additional costs or delays. Accurately measure your roof and account for extra material in your budget as a buffer against measurement errors and material waste.
Mistake 4: Ignoring Manufacturer’s Installation Guidelines
Each underlayment product comes with specific manufacturer’s instructions that some DIYers disregard, leading to incorrect installations. Always follow the guidelines closely or consult with a roofing specialist to ensure correct application and maximum effectiveness of your underlayment.
Ensuring Quality Underlayment Installation
It’s essential to start the underlayment installation from the roof’s bottom edge, working your way up with keen attention to detail. Every section must overlap correctly to provide a waterproof barrier that withstands Florida’s unpredictable weather. If this process seems daunting, it’s worth considering professional commercial installation services to ensure the job is done with precision and care.
Maintaining and Protecting Your Investment
Once your underlayment is securely in place, a thorough inspection is crucial to identify and seal any potential entry points for water. This preventative step is a safeguard against future issues that could lead to costly repairs. Engaging in regular maintenance and using storm damage services after severe weather can help preserve the integrity of your roofing system.
For those ready to safeguard their property with confidence, seeking professional assistance is the definitive course of action. An expert’s touch can provide peace of mind that comes from knowing your roof’s underlayment is installed with attention to detail and industry-leading practices—securing your commercial roof against elements and time. Additionally, a specialist can offer valuable insights on maintenance strategies and tailored solutions to keep your roof performing at its best.
As you conclude this journey of discovery on commercial tile roof protection, remember that the path doesn’t end here. Continue to engage with us and stay informed about the finest roofing techniques and advancements. Visit us through our social media page and our Google profile for the latest updates and ongoing projects.
Our team is ready to assist with inspections, repairs, and full commercial roof projects. Contact us today to get started!